
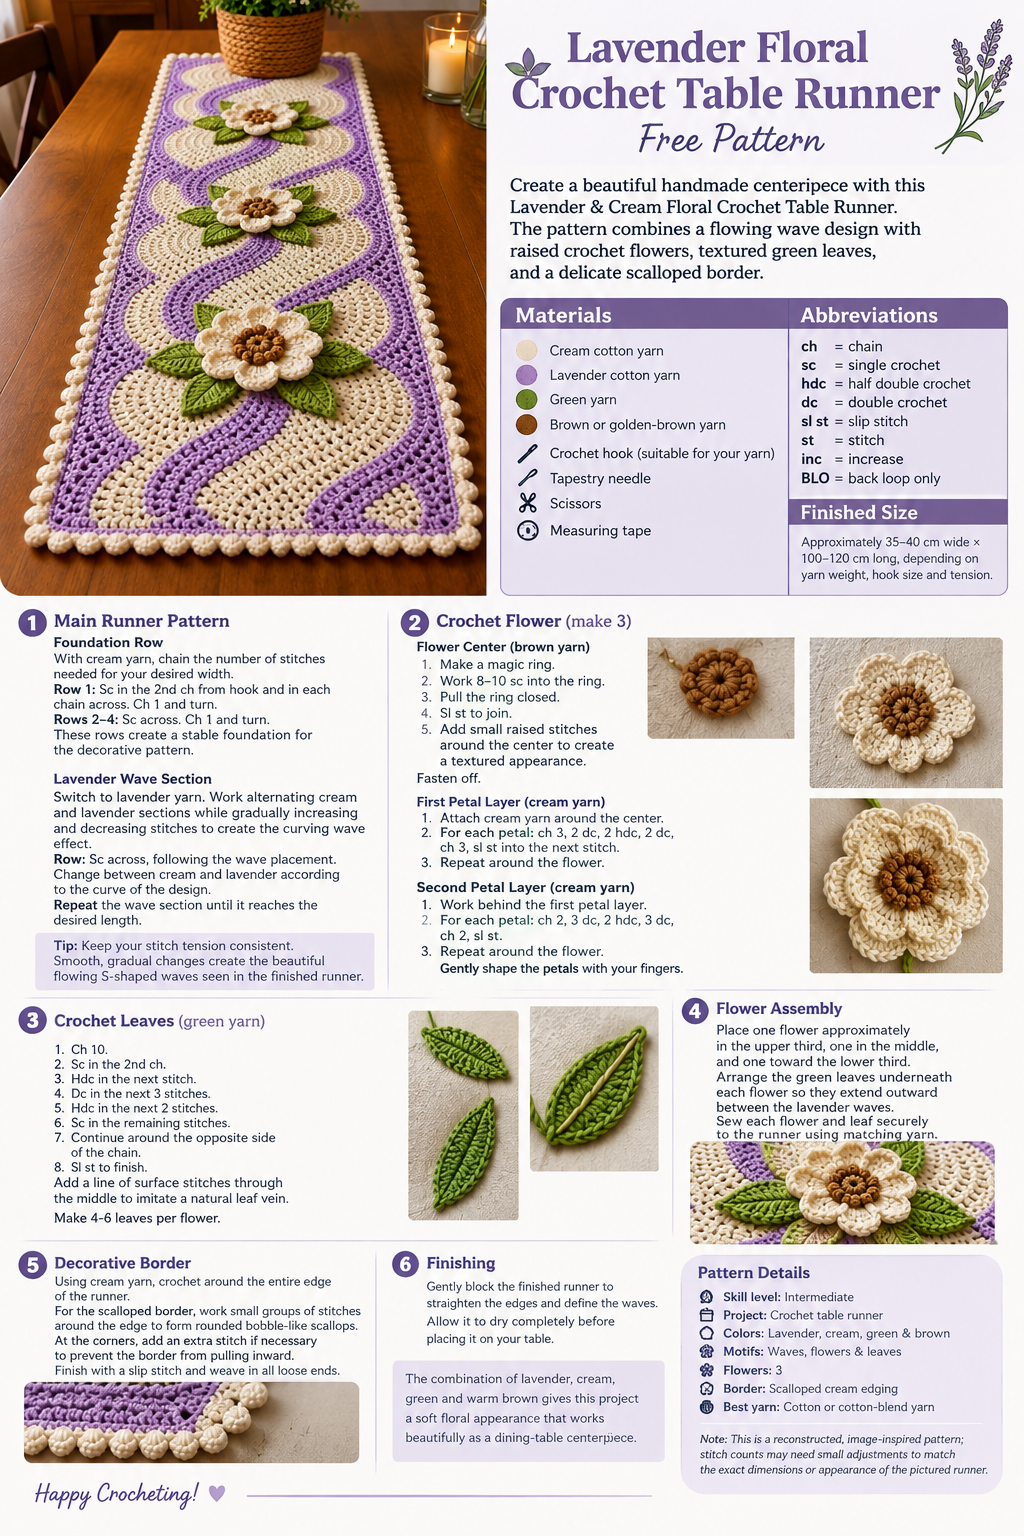
Lavender Floral Crochet Table Runner Pattern 🌸
Create a beautiful handmade centerpiece with this Lavender & Cream Floral Crochet Table Runner. The pattern combines a flowing wave design with raised crochet flowers, textured green leaves, and a delicate scalloped border.
🧶 Materials
- Cream cotton yarn
- Lavender cotton yarn
- Green yarn
- Brown or golden-brown yarn
- Crochet hook suitable for your yarn
- Tapestry needle
- Scissors
- Measuring tape
✨ Abbreviations
- ch – chain
- sc – single crochet
- hdc – half double crochet
- dc – double crochet
- sl st – slip stitch
- st – stitch
- inc – increase
- BLO – back loop only
📏 Finished Size
Approximately 35–40 cm wide × 100–120 cm long, depending on yarn weight, hook size, and tension.
You can easily make the runner longer by repeating the wave sections.
🌿 Main Runner Pattern
Foundation Row
With cream yarn, chain the number of stitches needed for your desired width.
Row 1:
Sc in the 2nd ch from hook and in each chain across. Ch 1 and turn.
Rows 2–4:
Sc across. Ch 1 and turn.
These rows create a stable foundation for the decorative pattern.
Lavender Wave Section
Switch to lavender yarn.
Work alternating cream and lavender sections while gradually increasing and decreasing stitches to create the curving wave effect.
A simple repeat can be worked as:
Row:
Sc across, following the wave placement. Change between cream and lavender according to the curve of the design.
Repeat the wave section until it reaches the desired length.
Tip: Keep your stitch tension consistent. Smooth, gradual changes create the beautiful flowing S-shaped waves seen in the finished runner.
🌸 Crochet Flower
Make 3 flowers for the runner.
Flower Center
With brown yarn:
- Make a magic ring.
- Work 8–10 sc into the ring.
- Pull the ring closed.
- Sl st to join.
- Add small raised stitches around the center to create a textured appearance.
Fasten off.
First Petal Layer
Attach cream yarn around the center.
For each petal:
Ch 3, 2 dc, 2 hdc, 2 dc, ch 3, sl st into the next stitch.
Repeat around the flower.
Second Petal Layer
Work behind the first petal layer to create a fuller flower.
For each petal:
Ch 2, 3 dc, 2 hdc, 3 dc, ch 2, sl st.
Repeat around the flower.
Gently shape the petals with your fingers.
🍃 Crochet Leaves
Using green yarn:
- Ch 10.
- Sc in the 2nd ch.
- Hdc in the next stitch.
- Dc in the next 3 stitches.
- Hdc in the next 2 stitches.
- Sc in the remaining stitches.
- Continue around the opposite side of the chain.
- Sl st to finish.
Add a line of surface stitches through the middle to imitate a natural leaf vein.
Make 4–6 leaves per flower.
🌼 Flower Assembly
Place one flower approximately in the upper third of the runner, one in the middle, and one toward the lower third.
Arrange the green leaves underneath each flower so they extend outward between the lavender waves.
Sew each flower and leaf securely to the runner using matching yarn.
🤍 Decorative Border
Using cream yarn, crochet around the entire edge of the runner.
For the scalloped border, work small groups of stitches around the edge to form rounded bobble-like scallops.
At the corners, add an extra stitch if necessary to prevent the border from pulling inward.
Finish with a slip stitch and weave in all loose ends.
🧺 Finishing
Gently block the finished runner to straighten the edges and define the waves.
Allow it to dry completely before placing it on your table.
The combination of lavender, cream, green, and warm brown gives this project a soft floral appearance that works beautifully as a dining-table centerpiece.
Pattern Details
Skill level: Intermediate
Project: Crochet table runner
Colors: Lavender, cream, green & brown
Motifs: Waves, flowers & leaves
Flowers: 3
Border: Scalloped cream edging
Best yarn: Cotton or cotton-blend yarn
Note: This is a reconstructed, image-inspired pattern; stitch counts may need small adjustments to match the exact dimensions or appearance of the pictured runner.
